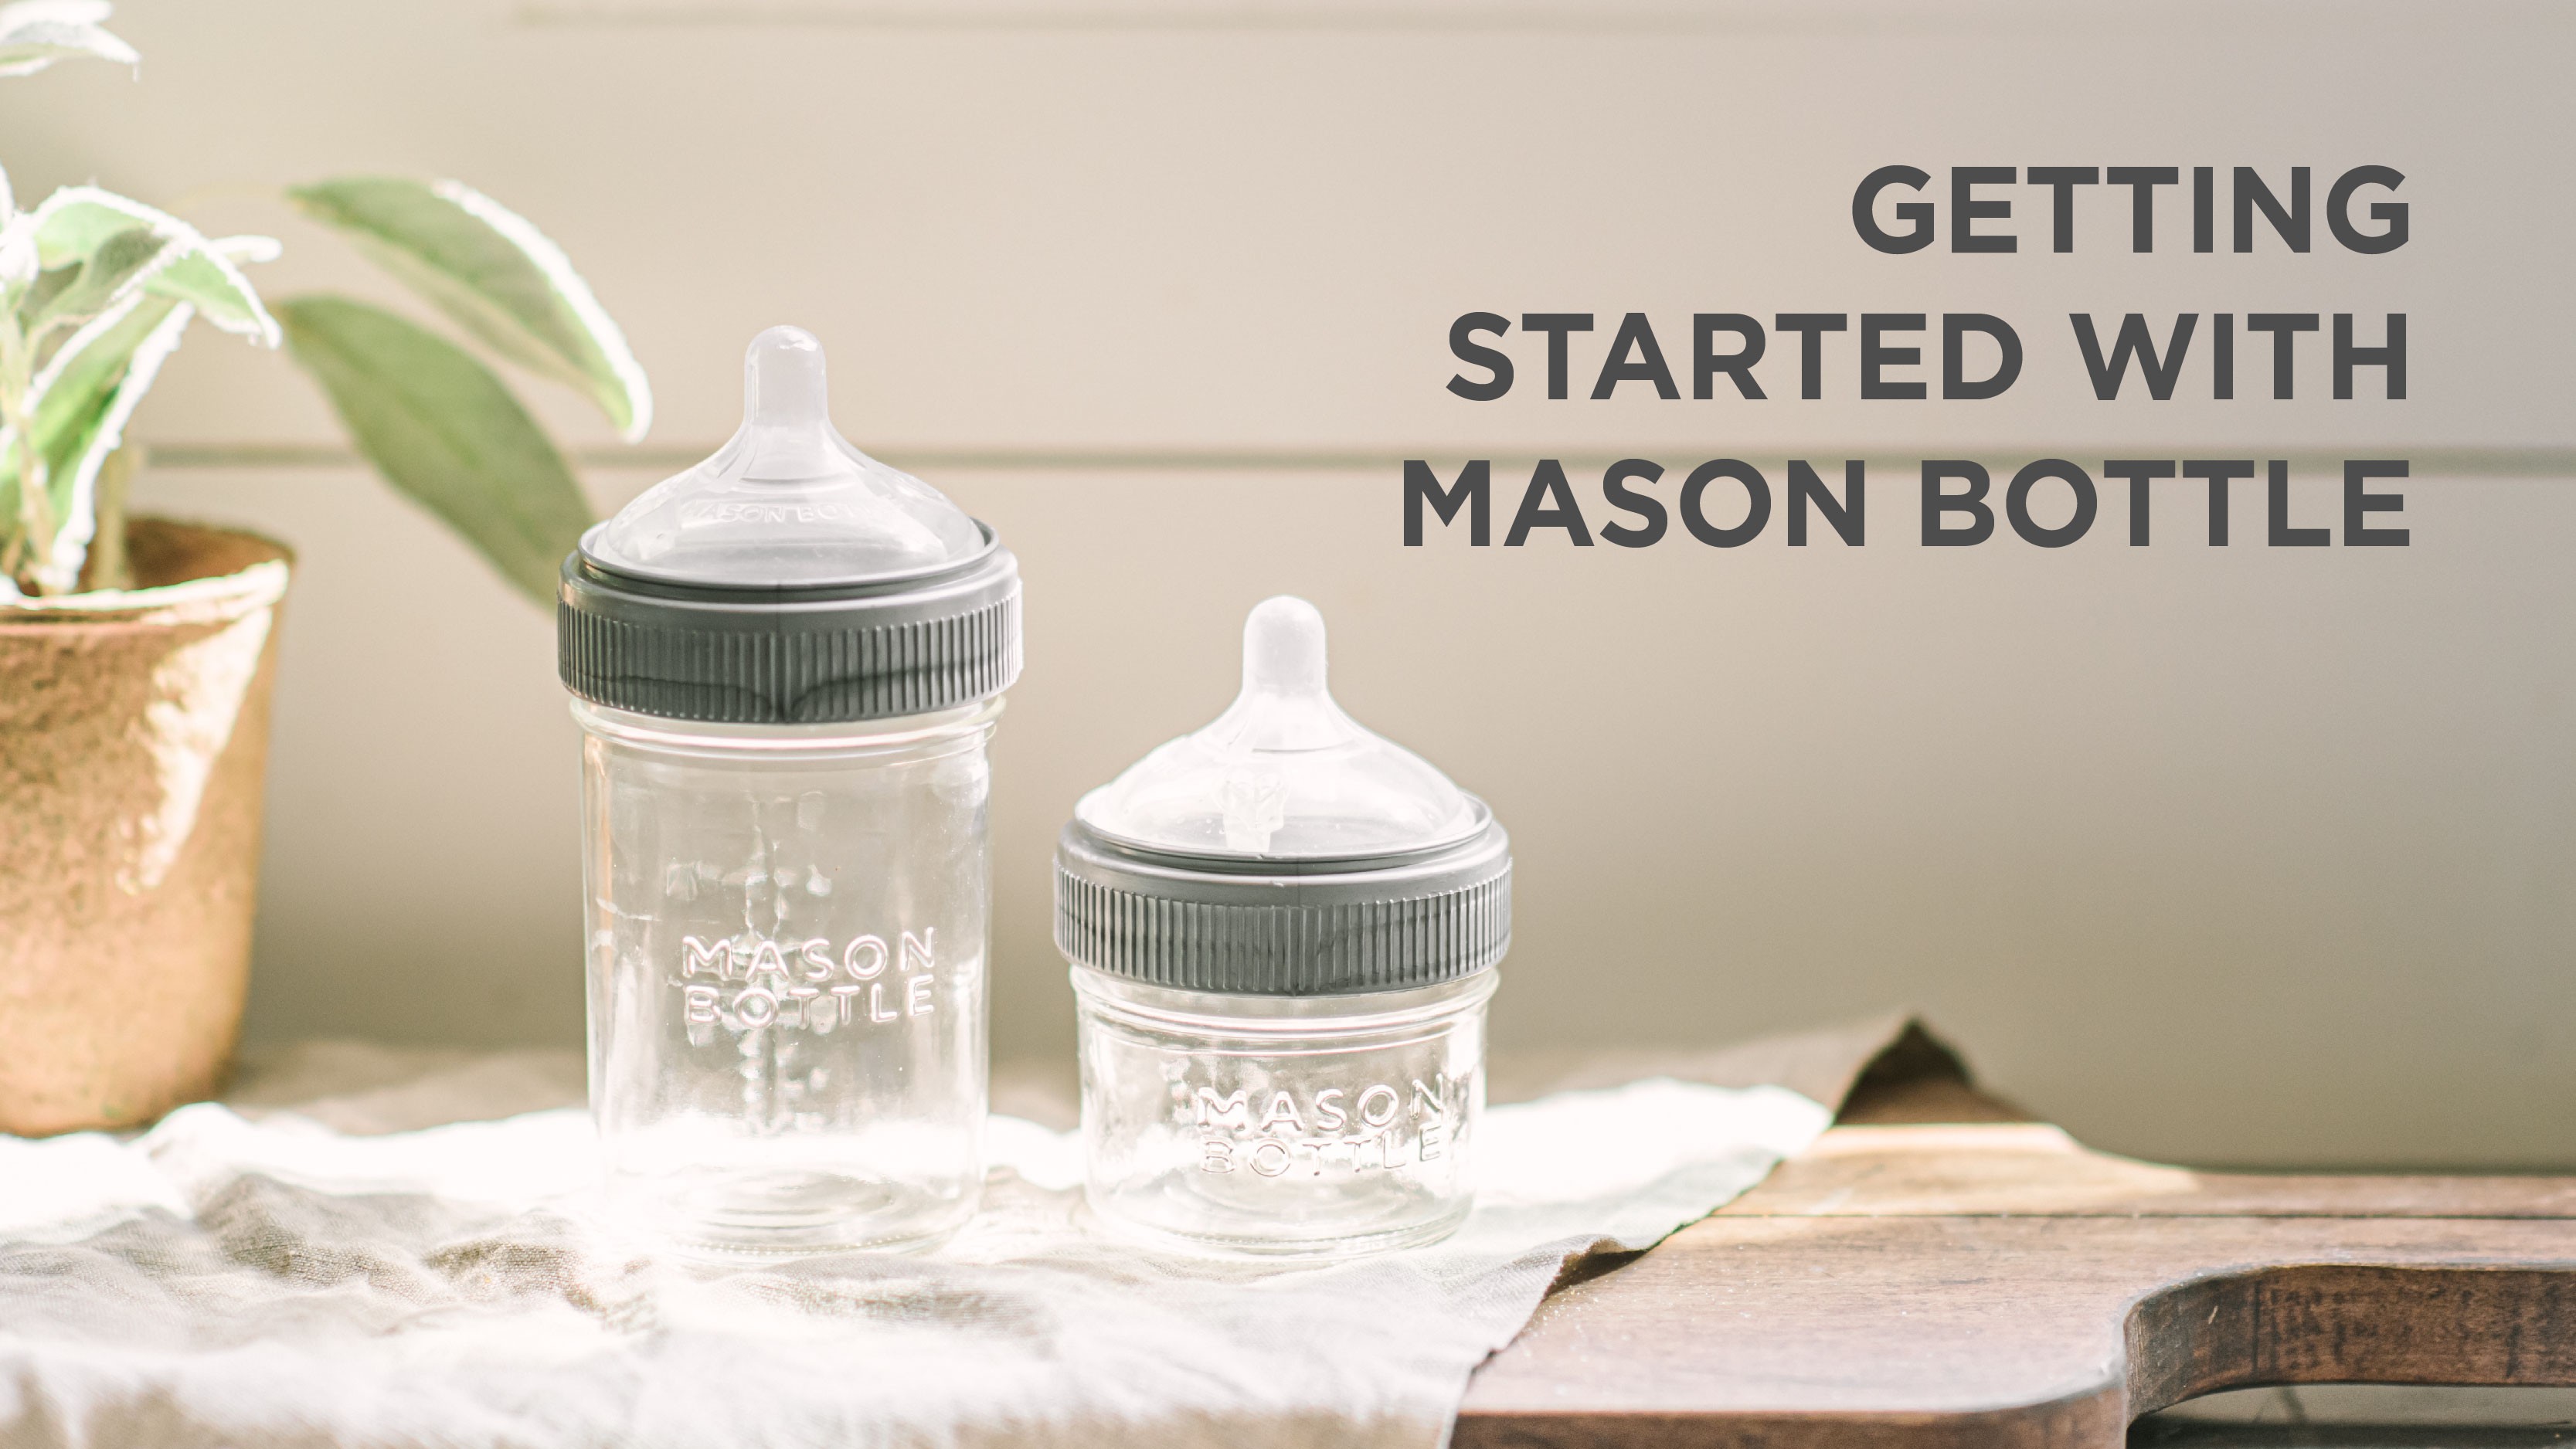
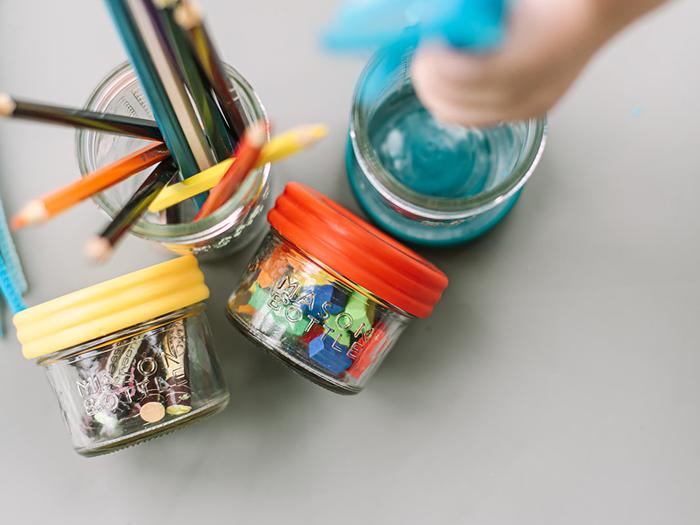
You already know that Mason Bottle will not only save you money, but also time and space. We have worked to make our bottle system minimalist, affordable and convenient. We get a few frequent questions when it comes to getting started with the Mason Bottle system, like “What do I need to get started?”, “How many bottles do I need?” and “How do I put everything together?” Read on for all the answers!
WHAT DO I NEED?
To get started with Mason Bottle, there are three main components to build our bottle system:
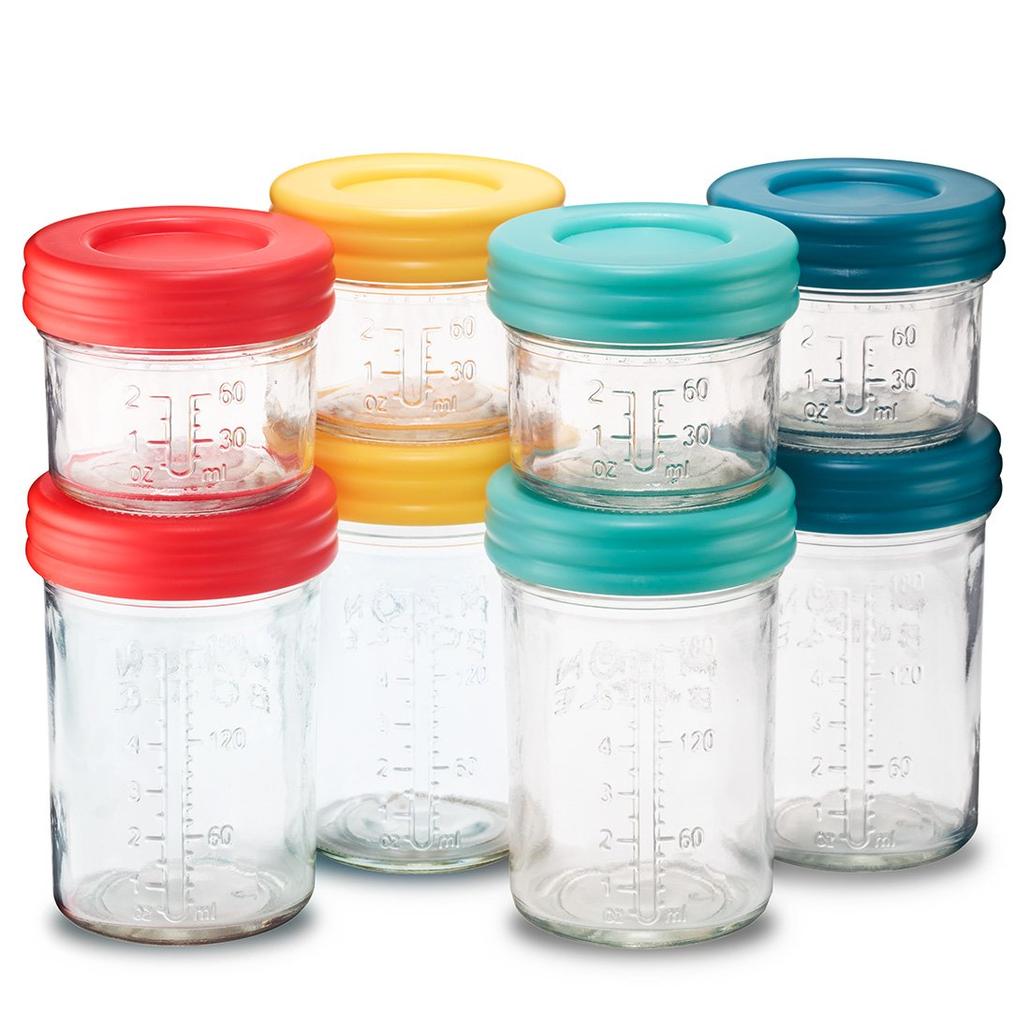
- Jars
- Nipples
- Rings
Jars
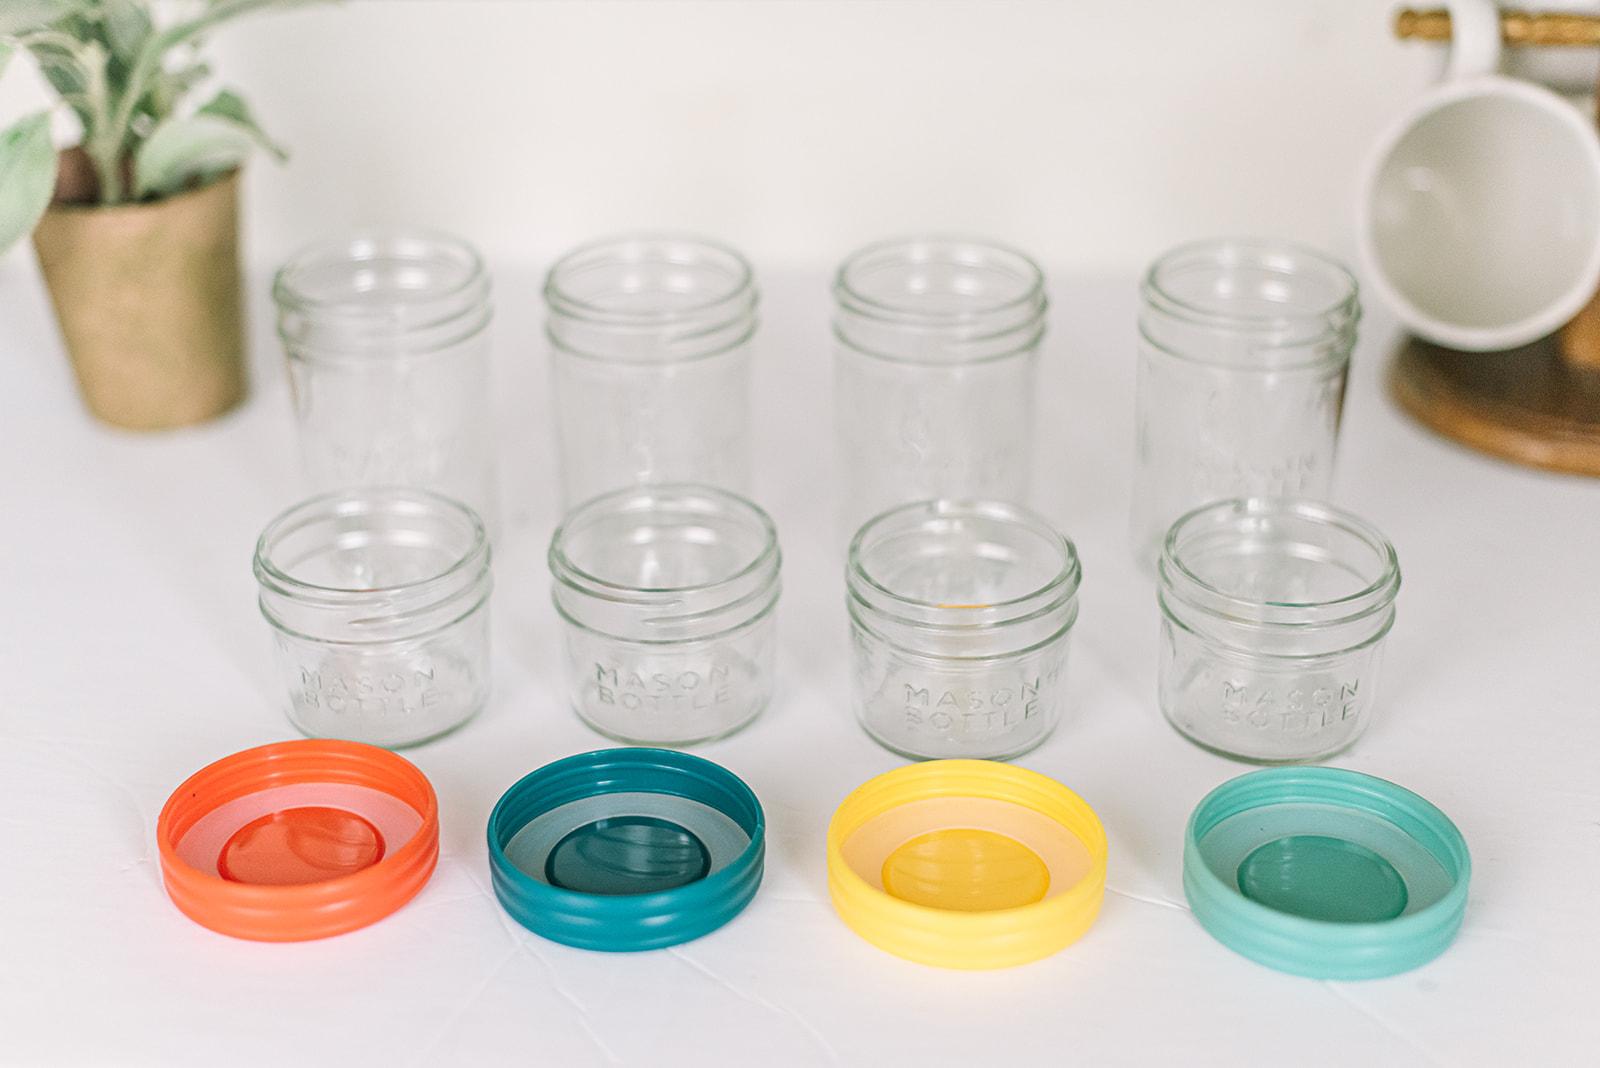
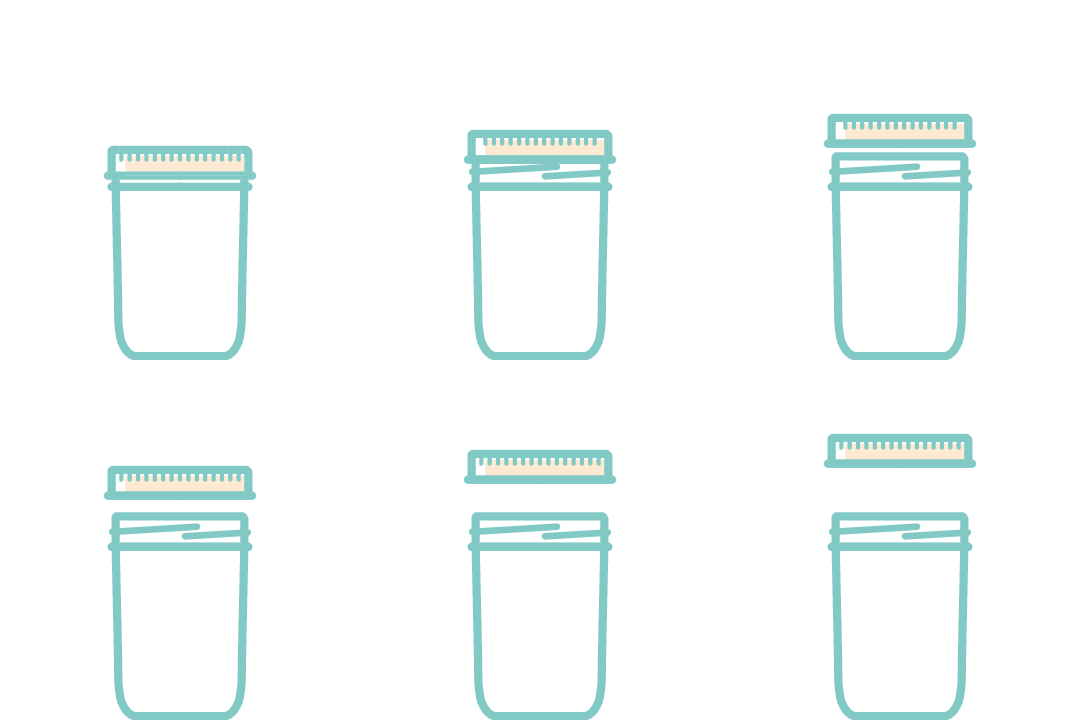
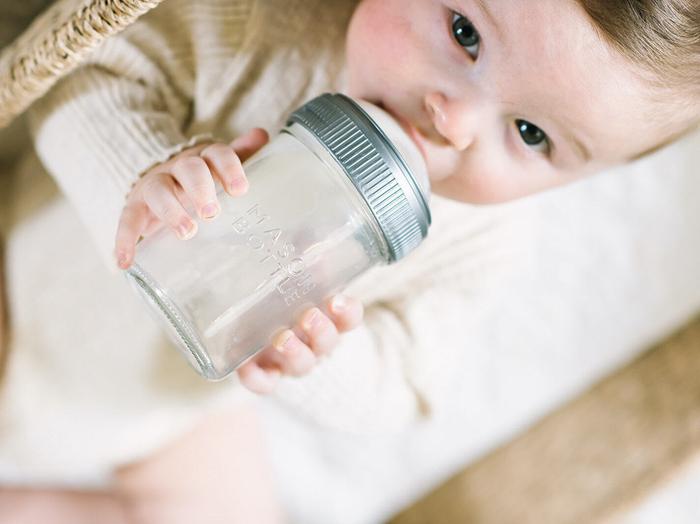
Our products work with any regular-mouth mason jar. You can get jars in any of the following three ways:
- When you buy any of our bottles or gift sets, they come with the jars already assembled. You may simply want to start out by adding some to your registry and trying them out with baby first.
- You can use any “regular-mouth” mason jar that you may already have or can find in most big box stores. Ball, Kerr, and Arkansas Glass brands work best.
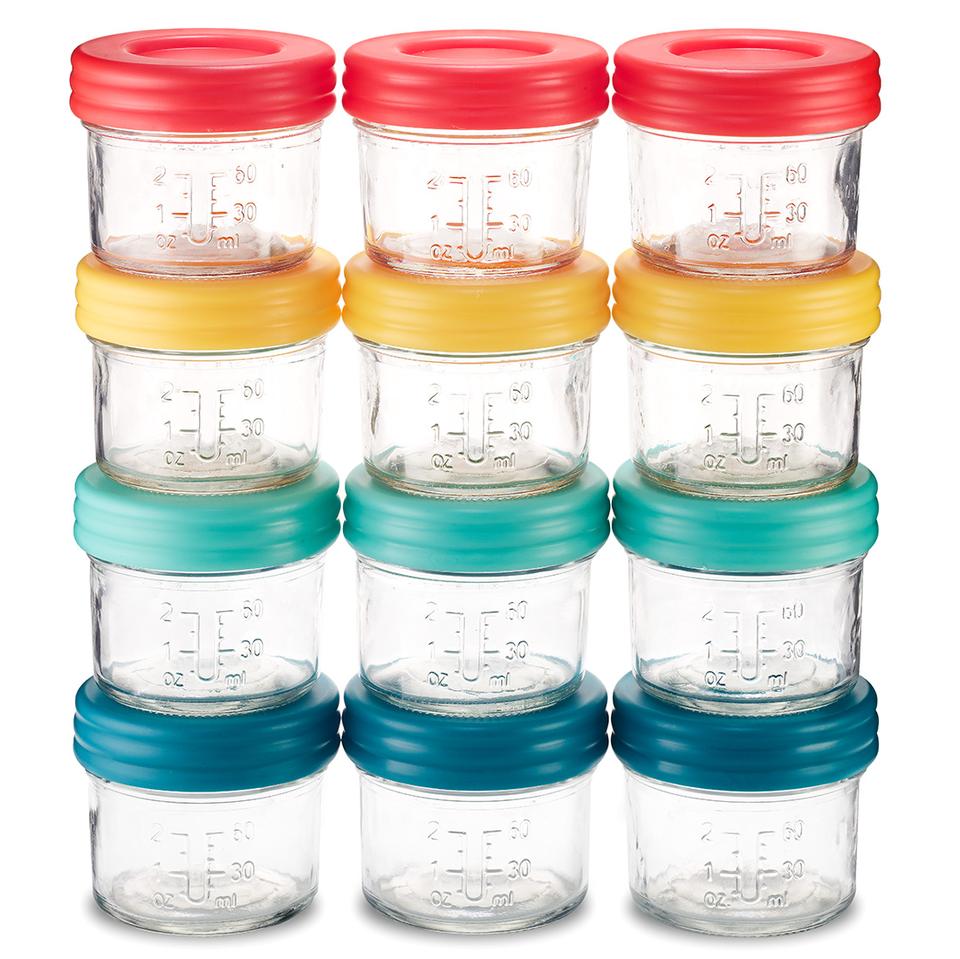
- You can use our new Mason Jar Storage Sets. These come with storage lids so that they can be used well beyond the baby stage.
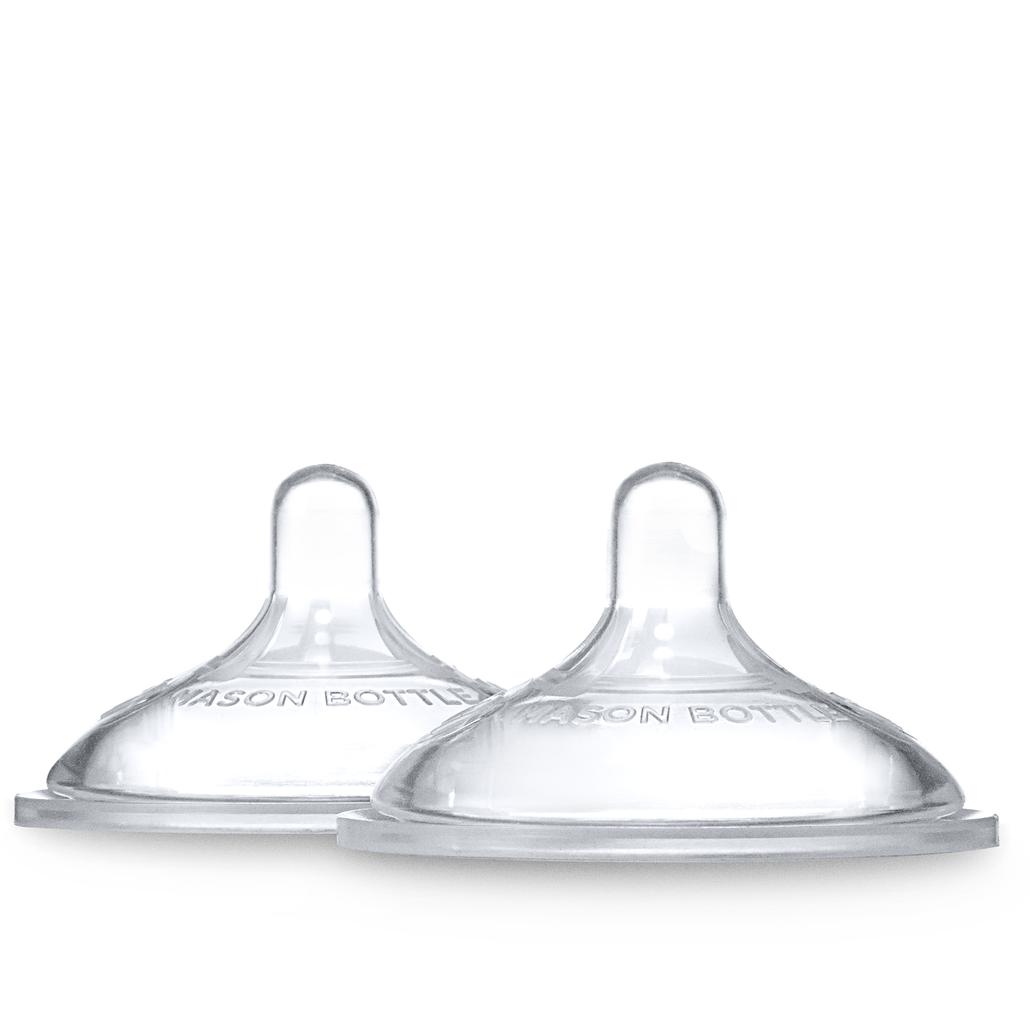
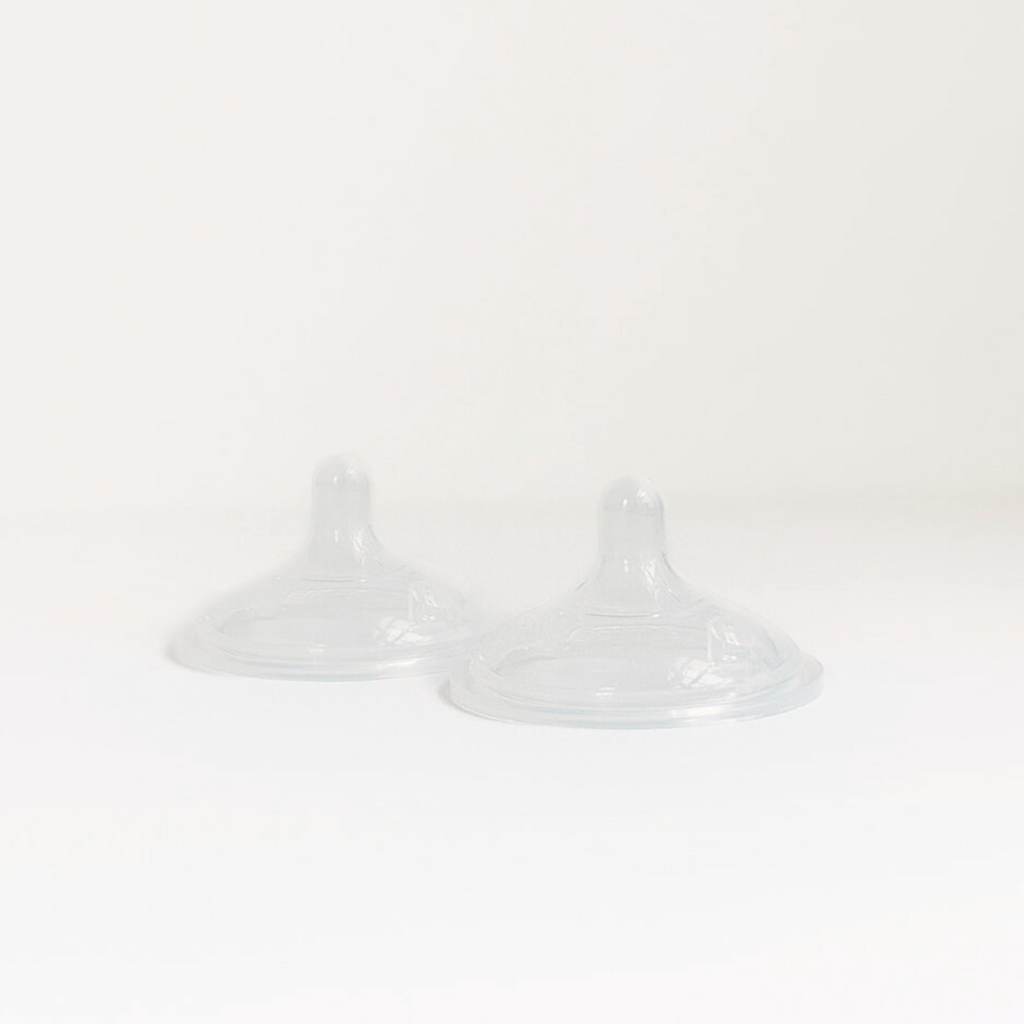
Nipples
The most critical component is the nipples. As with the jars, you have a few options:
- Purchase a single set of nipples to start out. Since many parents already have jars or buy a set from us, we sell our nipples a-la-carte so you can choose the flow that makes the most sense for your baby.
- Or get our individual bottles, gift sets, or our DIY Kit. These all come with slow flow nipples and our essential gift set even comes with multiple flows.
Which Nipple Flow is Right For Your Baby?
If you are just starting out, we would recommend starting with the slow flow nipples, but you can read more information in this blog.
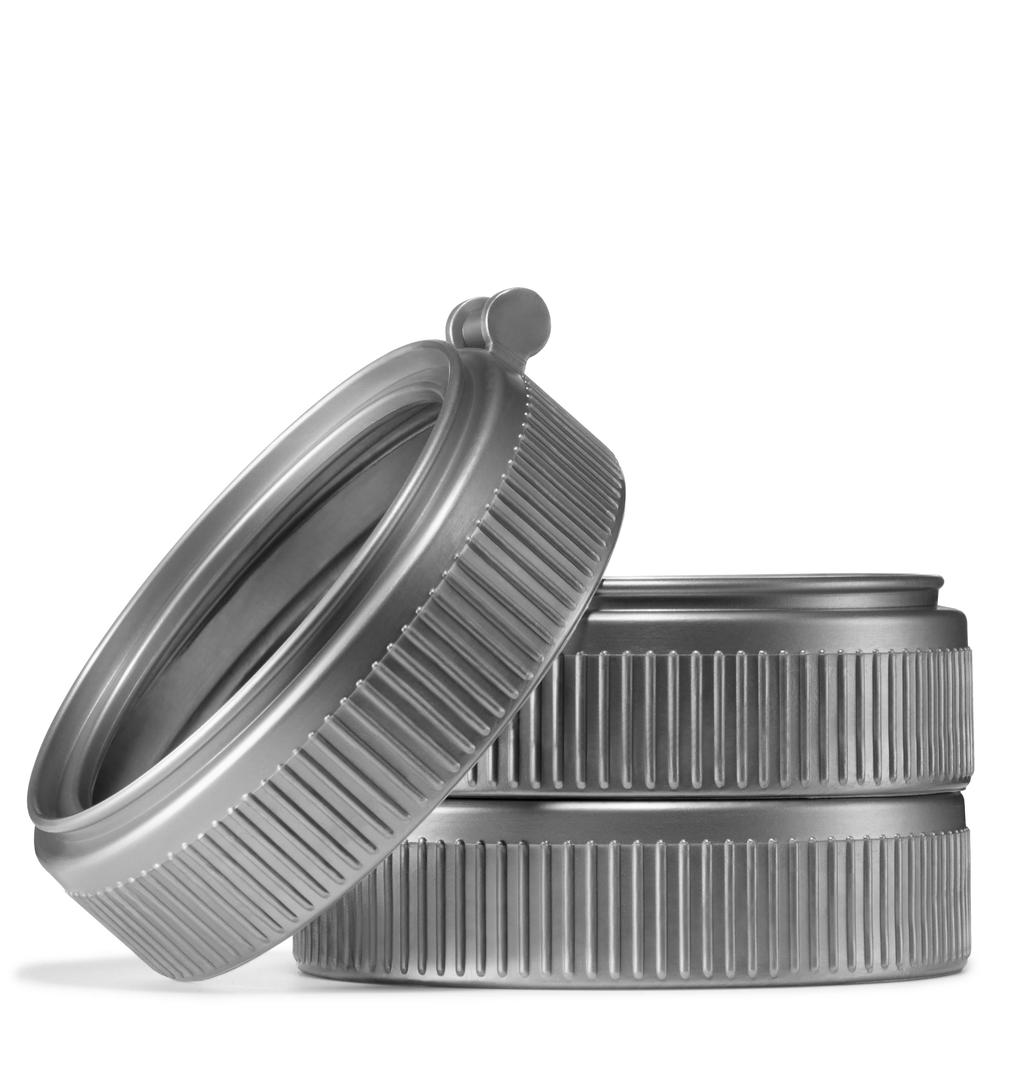
Rings
When it comes to securing the nipple to the jar, you again, have multiple options.
- You can simply use the metal rings that come standard with most mason jars. However, If you've ever used these before, you know that the metal rings and lids are prone to rust. This is avoidable by simply hand washing the rings and drying them immediately and thoroughly.
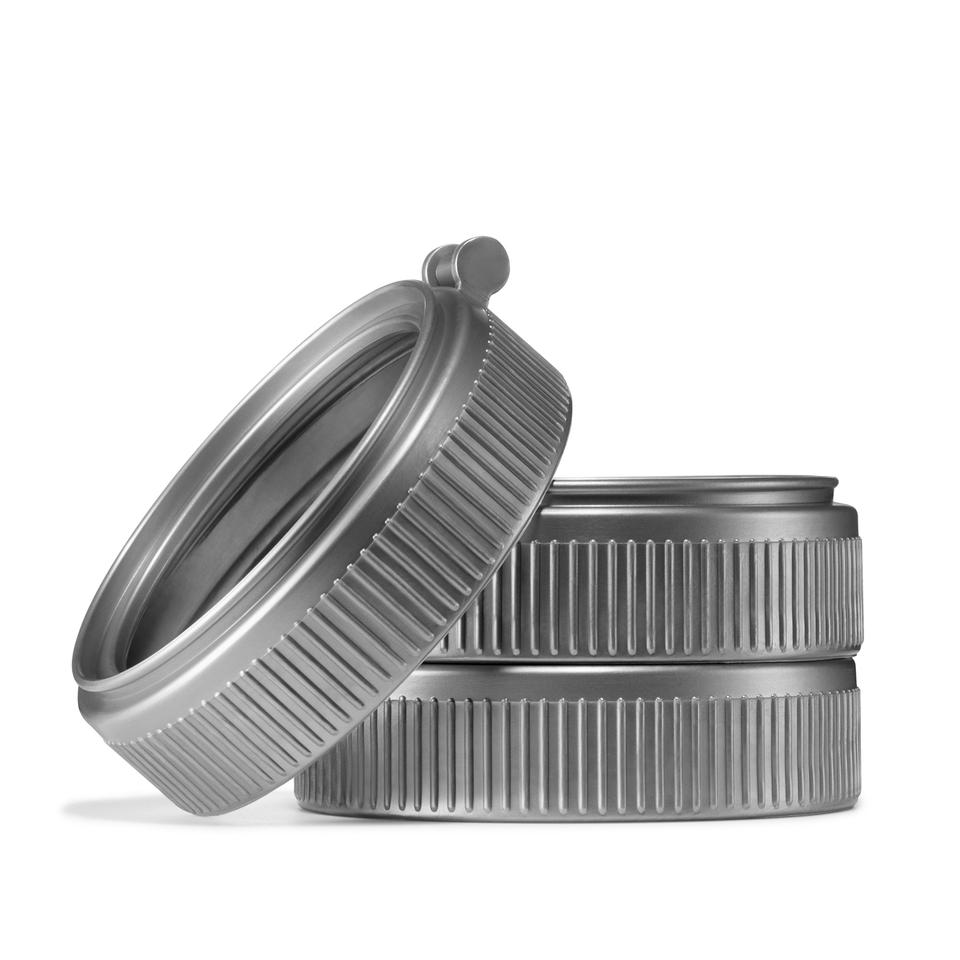
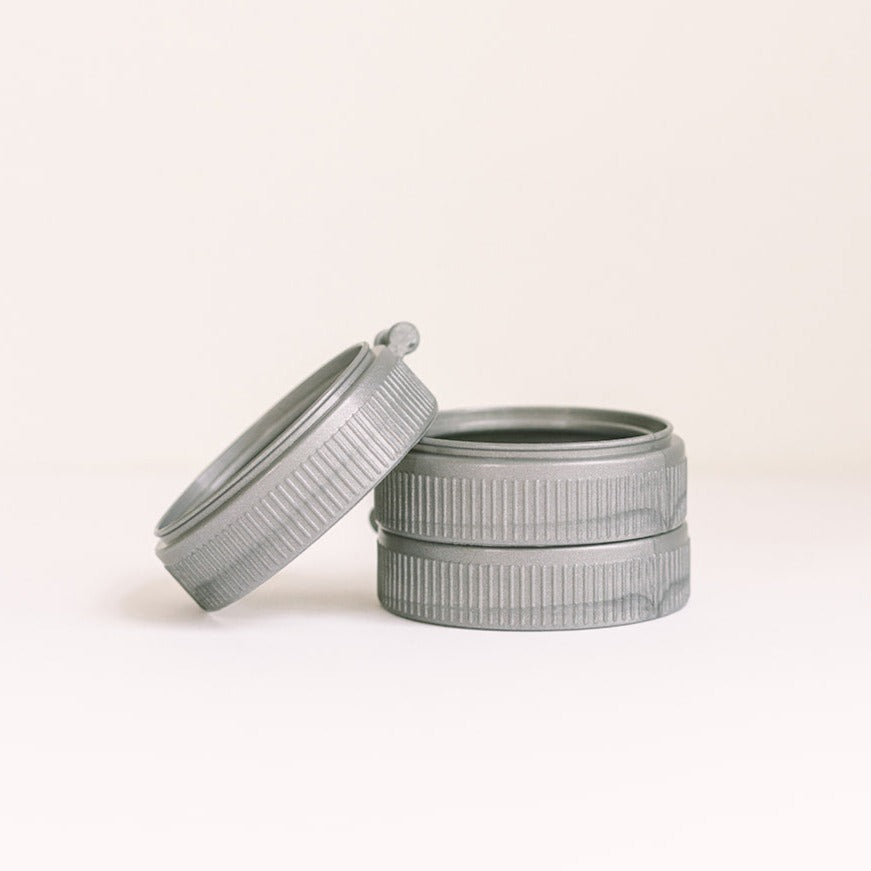
- If you know you need a low-maintenance, dishwasher safe option, you can use our Mason Bottle plastic ring —they’ll withstand years of use for bottle feeding, milk storage, and much more.
Caps
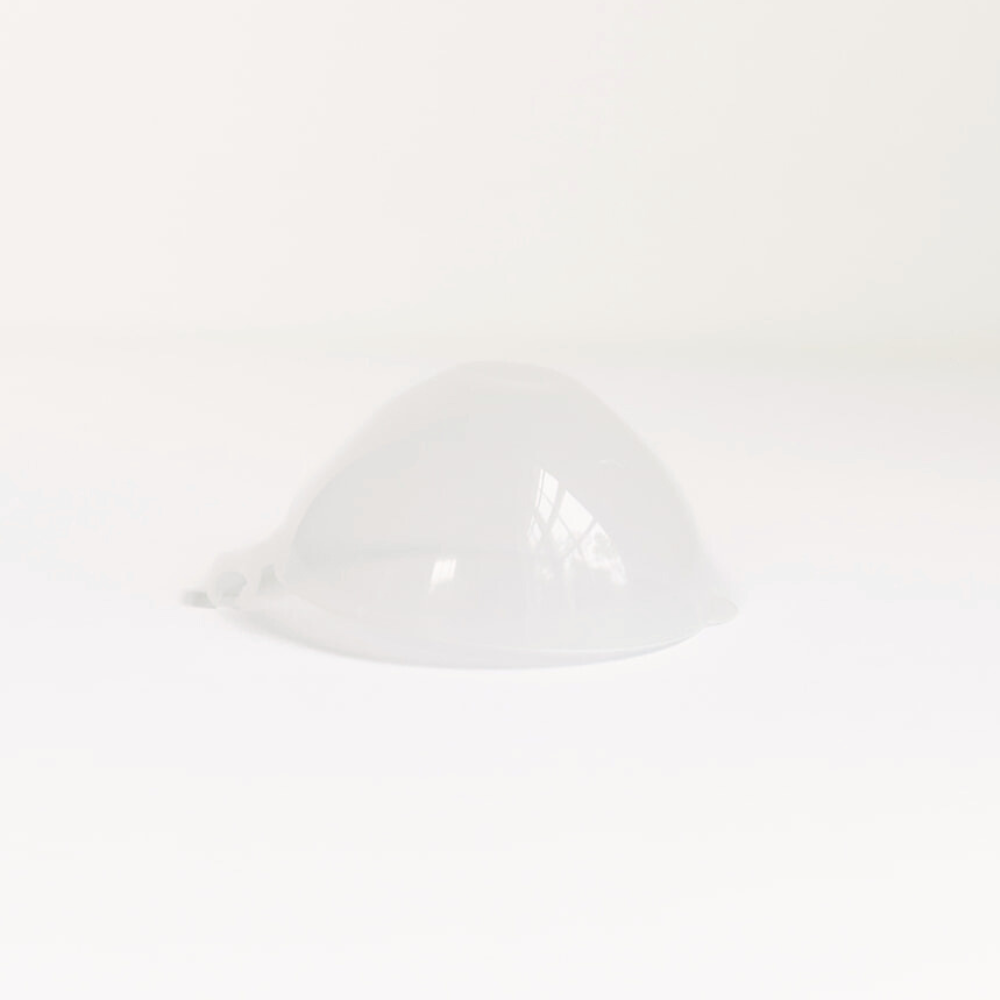
While this is a completely optional addition to our bottle system, our caps offer protection from dirt, debris and leaks while on the go (or even at home!). We offer two styles of caps depending on which ring you are choosing to use:
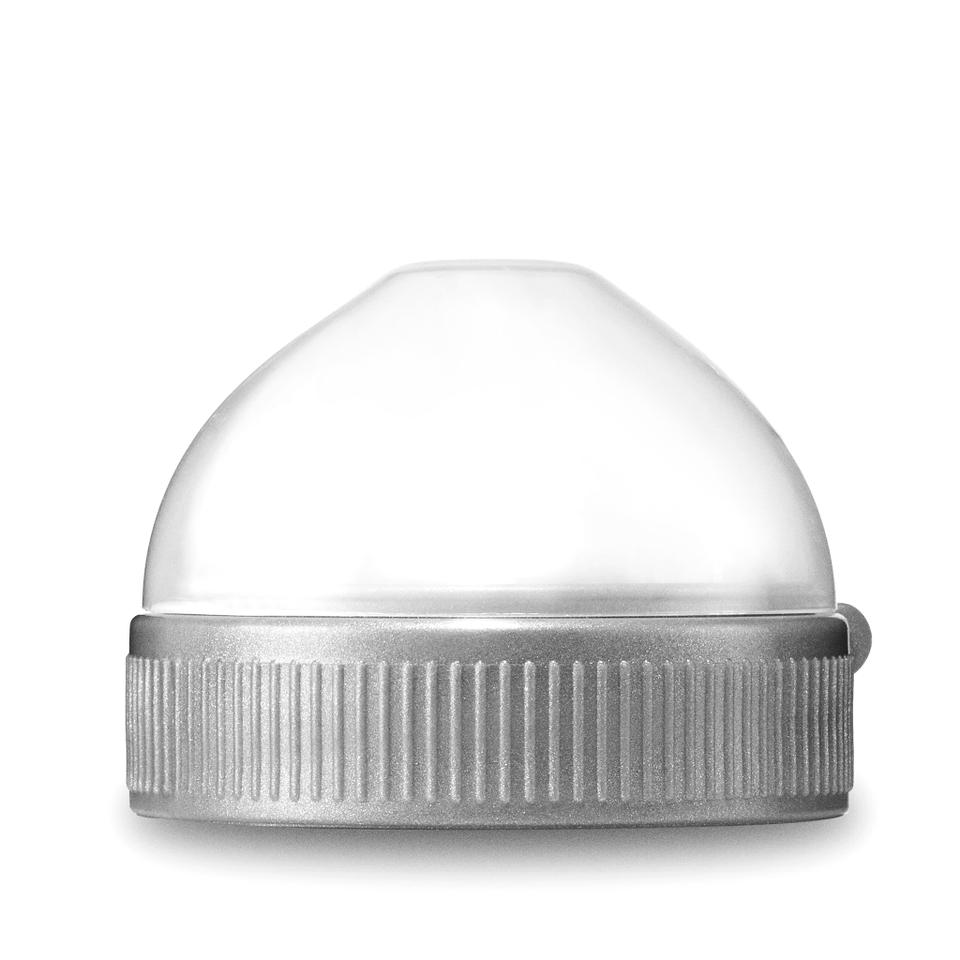
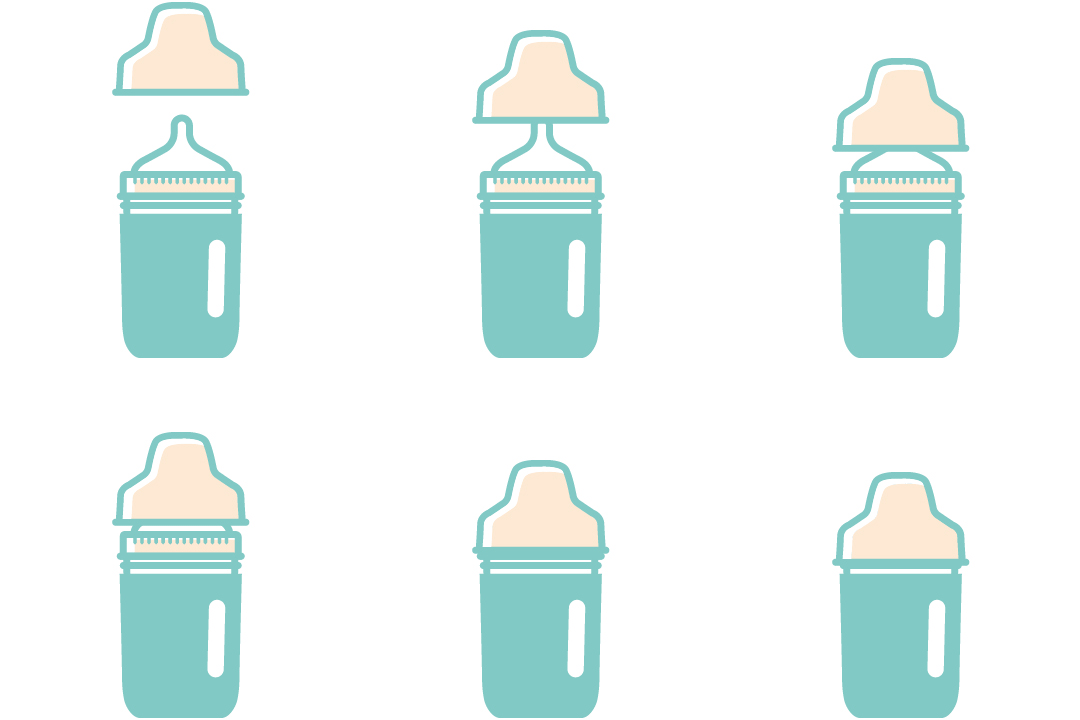
- The bell shaped cap snaps and secures snuggly to the metal rings.
- The hinged cap, snaps onto the accompanying hinge on the plastic ring for easy to open and close convenience with no risk of loss.
HOW MANY DO I NEED?
Now that you know the options to set up your bottle, the next step is to figure out how many bottles you’ll need. You may already know what you need, but if not, we’ve made a simple two-question quiz to help you calculate this.
HOW DO I PUT EVERYTHING TOGETHER?
As with any bottle, assembly is important for a frustration-free experience. We tried to keep our bottles as simple as possible to keep things convenient and hassle free. Whether you’re using our jars or yours, getting your bottle prepped for feeding remains the same.
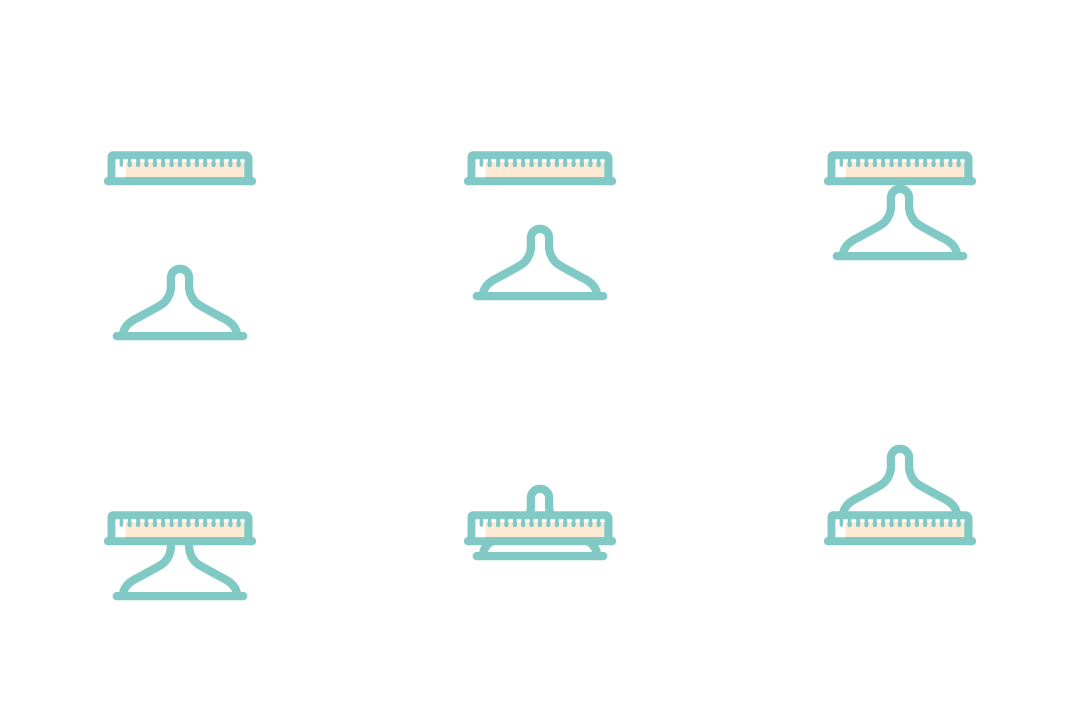
- Simply insert the nipple into the ring, pull until you hear it “click”.
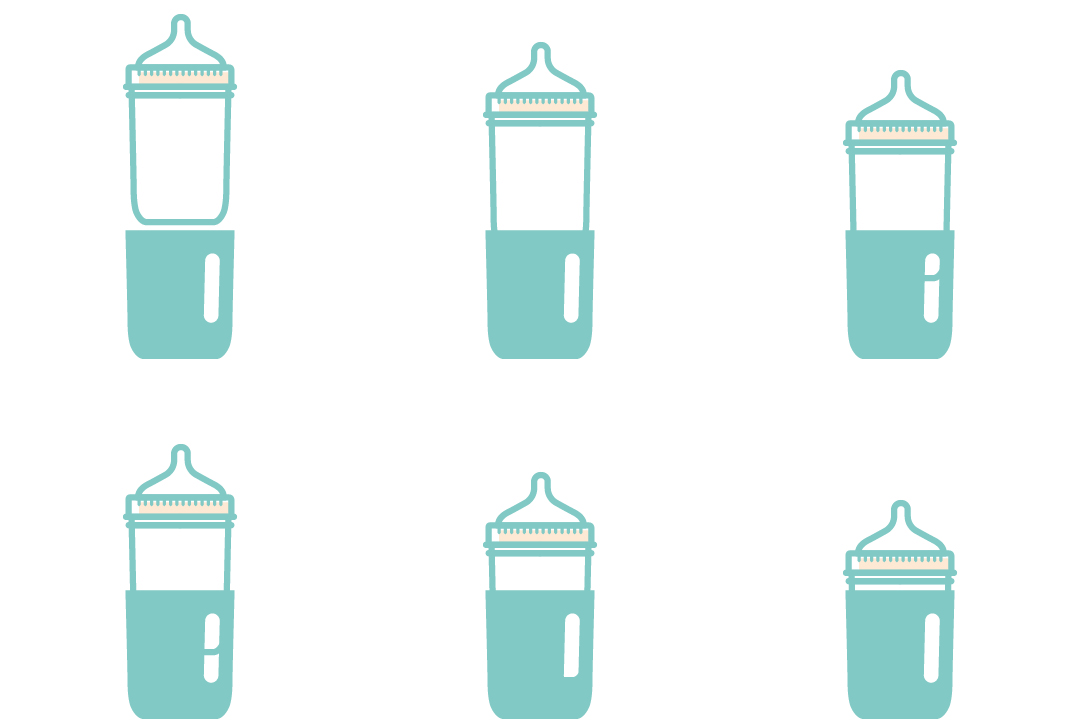
- If you choose to use a silicone sleeve, place the jar in the sleeve and use the designated windows to pull the sleeve snuggle onto the jar.
- Fill your jar with your desired amount of liquid.
- Screw the ring onto the jar. A rule of thumb, more so with the plastic rings, when it feels like it’s tight enough, give it one more turn. This will help create a leak-proof seal between the nipple and the jar lip.
- If you are using one of our silicone sleeves to help protect your bottle and add grip, you can simply slide the sleeve onto the jar and use the windows on the side to help pull it snuggly on.
- Add your cap based on your ring choice if you choose.
- Feed your baby with the confidence that your bottle system is free of BPA, BPS, phthalates and other chemicals found in plastic!

